Showing posts with label makeup products. Show all posts

Friday, February 7, 2014

Pink Pearl POP


I LOVE winter. I love winter clothing, winter scenery, winter accessories, winter boots, winter activities, more winter clothing, and winter makeup. By winter makeup, I'm talking colors. Winter is the perfect time to break out a dark lip. Red, burgundy, oxblood, wine, you name it, winter loves it for a lip color! However, I like to switch it up every once in a while. Winter is not only for dark colors. It also screams white and pretty! I mean, mother nature dumps a coat of white all over for a few months because she knows it's pretty! What does pretty winter white need for a sidekick? PINK!

What I am about to say may shock you...

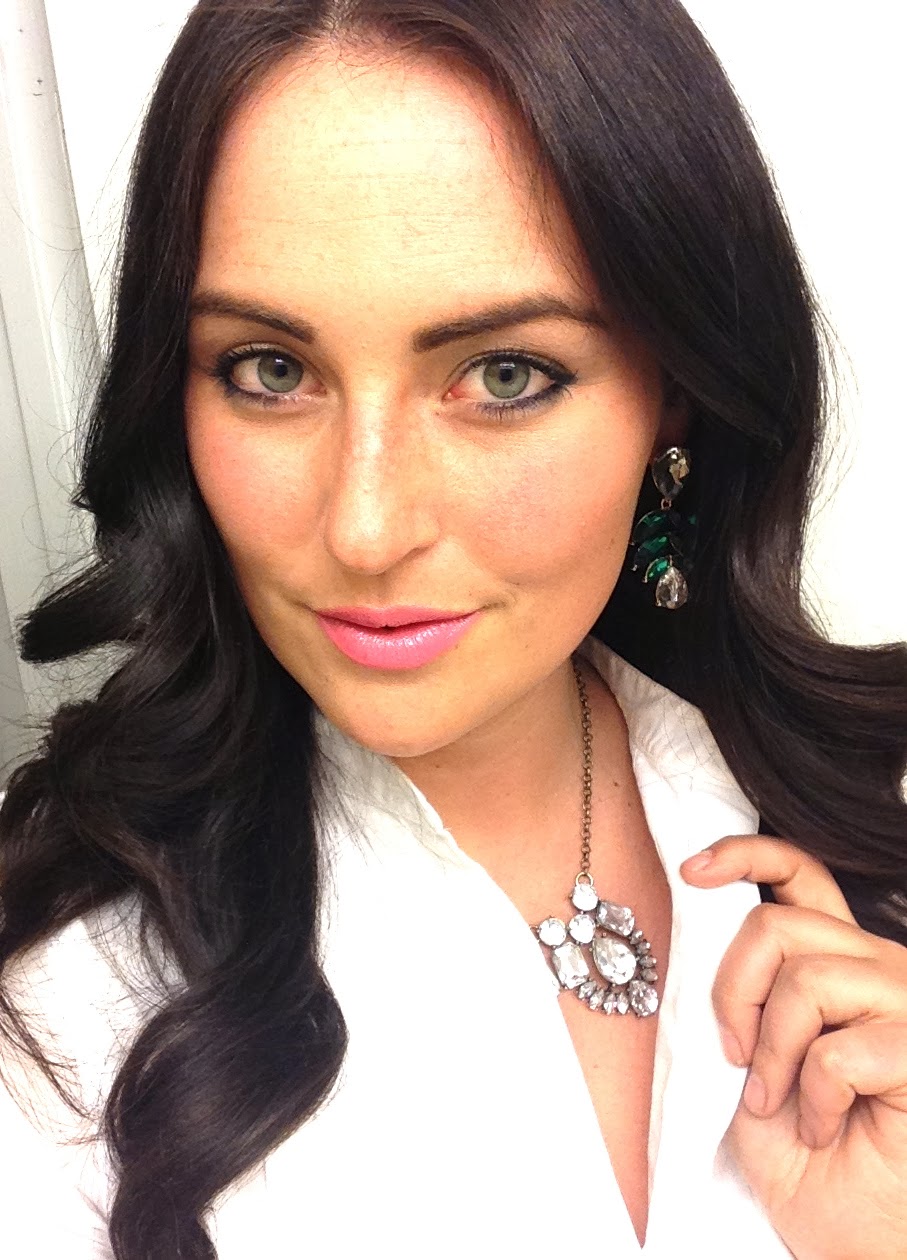
I am not a pink girl. I never have been. My favorite color is orange and my go to color for clothing is usually a neutral of sorts black. But, I do not shy away from pretty things. In this case, MAC's Pink Pearl Pop is oh-so-pretty. Searching for the right shade of winter pink was a challenge, which I totally accepted! I love this shade, and it took me a loooooong time to find.  I tried darker pink, brighter pink, nude pink, etc. Nothing was right. Then, on a random trip to NYC, a nice lady at the MAC store helped me find this shade (or flavor, as my students call it). Perfection. 

I love the pink and emerald color combination!


MAC Pink Pearl Pop
Charming Charlie Earrings (Similar here)
J Crew Necklace (Similar here)


Thank you for reading, my lovely Polished ladies!

XOXO-Courtney

For more beauty looks check us out on Instagram at @Courtney_m_b & @KelseyMKipp

Thursday, January 23, 2014

Too Faced {Mascara}

Although I am not one for a New Years Resolution, I love the idea of changing up your boring routine. You know the ones on auto pilot. How often do you run out of a beauty product and simply pick up a refill, of the same product you have been using for years? Not me--I am always looking for hot new items that are made for trendy girls who want to Polish off their look.

Here is what I found--Better Than False Lashes! Promise!

The Too Faced Product has 2 tubes of mascara. The gold tube is step 1 & 3--start and finish with the actual mascara. The white tube is step 2--extensions in a bottle.

No matter what mascara you use, ladies, don't skimp on this step. CURL YOUR LASHES! You can pick up an eye lash curler anywhere!

Hopefully, your eye lashes are curled and ready for step 1. Apply Step 1 (gold tube). Bonus? The wand it angled. First, I like to tilt the brush up {pictured} and wiggle into the base of my lashes. Once my lashes are coated, I turn the angled brush around and apply a layer on the BACK of my lashes. Yes--the part you can see when my eyes are closed.

Step 2-the extensions. Hope you can see the little white fibers on my upper eye lashes. I only apply this to my upper lashes because when both were coated, they stuck together a bit when I blinked! 


After you repeat with the gold tube (step 3), here is the difference! I have to admit the pictures do no do it justice!! It's simply amazing in person--you must try it!


Before...
After!


Top here for $9 // Earrings and Belt Francesca's Collections // Link Bracelet Target and Diamond Bracelet Brina Box // Denim Express // Booties Nine West // Mascara here // Lips Mac Rebel //

When eyelash extensions first made their debut, I was thrilled! After a little research, my excitement dissipated... For girls who like low maintenance (like don't curl or wear mascara daily) it's a PERFECT solution! For me, not so much-- I wear a lot some eye makeup, so I don't want to be worried about my investment off my face. Thankfully, I stumbled upon this Too Faced Mascara! 

Voluminous, lengthy and thick lashes? Who wouldn't love that! Let me know what you think!

--Kelsey

Follow us on Instagram @KelseyMKipp and @Courtney_m_B

Thursday, January 9, 2014

Doesn't Everyone Have a Chiseled Jaw?

Well, I don't! So, I use make-up to give the illusion of high cheek bones, a defined jaw line, and draw attention to my beautiful eyes-minus the dark circles. Ah, the beauty of makeup!
 
Below is my contouring and highlighting routine. I often get asked how long it takes me to get ready in the morning. Most are shocked to hear I have a full-face of make-up (contouring and highlighting included) in less than 15 minutes. Truth is, once you know the tricks, it becomes habitual. When you first try this routine, it might take some time (it did for me). Once it becomes a daily routine, you will see *PROMISE* it only tacks a few more minutes on your routine, but makes a HUGE impact! You must try it!
 
Queue Kelsey without face make-up!
(one day I will be brave and make my naked debut,
today-I have my everyday eye makeup on)


First step, contour (dark areas).
 Just like a painter (I mean, it is an artwork), we want to make the illusion of light and shadow on your face. First apply contour to:
Hollows of your cheeks-Suck in your cheeks and trace the line from your hair to just below your lips.
  • Nose-both sides (from tip to eyebrow) and the tip.
  • Jaw line-Trace the UNDER section on your draw, we want the jaw to be pronounced, so trace under the jaw.
  • Behind the ear-Having a shadow under the ear helps define the jaw bone.
  • Temples-From the peek of the eyebrow to the end.
  • Hairline-trace the hairline around the forehead and blend into the hair.
How cute is this?! ugh!
 I use Lorac Cream Foundation CR&-Tan/Bronzage Moyen. I have tried several products and can't give this up! It's thick and dark; exactly what I need to stay in place, without running, and gives a great shadow.

 
Once my liquid contour is set, I often take a quick fan brush and swipe on some powdered bronzer in the hollows of my cheeks. Once my blush goes on, I cover with a translucent powder to smooth together. I prefer liquid because it goes on exactly where I put it and lasts all day.

 
Now, it's time to highlight!
These are the areas that we want to brighten up and jump off our face.
 
I use Bare Minerals concealer under my eyes because it is thick enough to cover my dark Italian eye circles. For other areas, I use the Lorac Touch Up & Go Concealer/Foundation {this is great because it's light and creamy so it blends well} for:
Middle of the nose and chin.


Some people also highlight their smile lines, mine just don't need any more attention, so I opt out of that one!
 
and/or Bare Minerals Well Rested Face and Eye Brightener {this is an illuminator so it gives just a bit of shine when it hits the light} for:
Eyebrows, cheek bone, and Cupid's Bow.


Now, that your placement is correct, BLEND! This is the most important step. You can either blend all together (contour and highlight) or blend one at a time. I have tried both! Blend with a beauty blend or brushes {you can tell mine are well-loved or tired}.

Caution: Be sure to triple check the check area! I find this area is the hardest to see but the easiest give away that you are wearing too much make-up, and worse, don't know HOW to blend it.

What a difference this makes, right!?


Thanks for stopping by and reading! For more beauty and style tips follow us on Instagram @KelseyMKipp and @Courtney_m_B
 

--Kelsey

Let me know what you think! Comment Below :) 

Thursday, January 2, 2014

Mastering the Red Lip


To wear a red lipstick or not to wear a red lipstick, that is the question. My answer now is YES, wear the red lipstick. If you asked me a couple of years ago I would have answered with a big ole negatory on the red lipstick. Growing up as a dancer, red lipstick became a sort of torture. Imagine five year old Courtney saying, "But Mooooooom,  whyyyyy do I have to wear red lipstick AND blue eyeshadow? The red lipstick gets on my teeth and on my face!" When I shuffled off stage, I could not wipe that stuff off quick enough! But my mom insisted on me wearing it for every recital and with every costume. My mother always wore a dark lip and now that I think about it, maybe she was onto something.

I found myself shying away from red lipstick in my teens and early twenties. It seemed so abrasive to me. Like "HELLO PEOPLE, HERE I AM, LOOK AT ME AND MY RED LIPS!" But, the more I began to get into makeup and beauty, the more I realized that women like Gwen Stefani, Dita Von Teese, and Christina Aguilera always look so fabulous with their red lipstick, so why can't I? 

Gwyneth Paltrow said, "Beauty, to me, is about being comfortable in your own skin. That, or a kick-ass red lipstick." You no what, I couldn't agree more! You like the way a red lip looks on a woman, wear a red lip! If you feel beautiful, you exude a sense of beauty and confidence that can't be bought. But a "kick-ass red lipstick," can be bought. So, let's make sure we are applying it correctly, shall we?

I use five products to apply my lipstick. It may seem excessive, but trust me, each one is important. My essential products are a great lip balm, pressed powder, lipliner, lipstick, and a gloss. 

Product details: Lipstick-Cover Girl Tempt 355 // Lip liner- Rimmel Ravish 057 // Gloss- Revlon Bordeaux 016 //  Balm-EOS // Powder-Clinique


First:
Apply a generous amount of lip balm. Nothing is worse that trying to apply lipstick to chapped lips, yikes.

I love EOS lip balms.


Second:
Apply pressed powder to your lips. This sets the balm and creates a matte palette to apply the lipstick. Not to mention, I find that it creates a base for a longer lasting lipstick.

Make sure you pat the powder on, not swipe. You don't need coverage just enough to create a smooth surface for your lipstick.


Third:
LINE YOUR LIPS. Ladies, I know that it seems silly because you put lipstick right over it. But please, please, don't skip the lip liner. ESPECIALLY with a bright color like a red, plum or pink. I lied before when I said nothing is worse than applying lipstick to chapped lips. There is something worse, and that is your lipstick acting like a pre-schooler coloring outside of the lines on your face. Don't feel like you need a lip liner for every shade of lipstick you own. You really just need one for the main color groups, one for reds, one for pinks, one for nudes. 

Remember when this was a trendy beauty look circa J Lo in the 90's? I love J Lo.


Fourth:
Apply the lipstick. You can use a brush to apply lipstick. I usually don't, but that is a preference.

I love this color and it just so happened to match my nail color: Essie- Bordeaux


Fifth: 
This step is optional. Sometimes I don't add a gloss. It depends on my mood.

Outfit details: Sweater (I HIGHLY recommend this sweater... it has a long fit which I love!)-Express // Necklace-Express // Link bracelet-Target // Pearl bracelet-Burlington (Similar here) // Rose gold cuff- Macy's (Similar here)


A note about color choice for reds:
Red lipsticks with an orange base are not good for me. They wash out my face and make my teeth tint yellow. I always choose a blue based lipstick. Most lipsticks will be labeled with warm or cool. A cool tone is usually a blue based lipstick. 

I love the color of this lipstick!


Voila! You are ready to turn heads with your red lipstick. Own it ladies! There is nothing wrong with looking and feeling beautiful any every day of the week.


Enjoy!

--Courtney

For more beauty looks check out mine and Kelsey's Instagram accounts-- Courtney_m_b & Kelseymkipp