Showing posts with label Kelsey. Show all posts

Thursday, February 27, 2014

Dark Circles (dun dun dun...)

As an Italian woman, I feel that my dark circles are become more like black holes under my eyes. And worse--with age, I find them harder to cover up. If you read my recent beauty post, you know I have tried to tackle the root of the problem with Eye Hope in a Bottle by Philosophy (which is amazing by the way), but my results are not seen overnight. 

See what I mean!?

So, I have been trying to find a concealer that can truly disguise my dark circles. I was in search of a miracle, honestly. I needed the thickest, most life changing concealer that could make my under eyes appear bright, light, and well rested. On this hunt, I have tried a variety of concealers, then even more highlighters trying to find a solution. Now, I know it isn't concealer, foundation, powder, or even highlighter I needed, it was RED LIP LINER!

That's right beauties, red lip liner. My favorite beauty consultant at my local Ulta store, John, taught me the trick--and I can't wait to share. John, if you are reading this, you are fabulous!!! This is a great tip that I just couldn't keep to my dark eyed self. Women, this is a must try!!! He explained that the dark circles are really a hue of blue, which can be a combination of your blood and really thin skin. The reason I could not find this amazing life-changing concealer to cover this up is because concealers are skin colored. Using the red lip liner and a concealer (exactly the color of your skin) you can apply the mixture to combat the blue hue. Voila you have a dark circle corrector!

Let's begin by when to use this little trick in your makeup routine. After my primer, and right before my full face foundation I use this mixture in a half moon shape under my eyes. {Note: this is unlike my concealer that I apply in a triangle shape down the base of my nose. Keep this just on the dark circle areas--for me, that also includes the inside of my eyes, as seen in the pictures}. Once this genius mixture is ready, I cover with foundation, then concealer and continue with my regular makeup routine.

Step 1: Choose a creamy red lip liner. I am using Too Faces Perfect Lip in Perfect Red. Simply because John recommended it because of its consistency.


Step 2: Add some concealer. This is a darker color than my other concealer to help balance my skin tone. I am using Amazing Concealer by Amazing Cosmetics in Ivory. My everyday concealer is Bare Minerals Light 2. Then, mix them together with a concealer brush. Mine is from Bare Minerals


Step 4: Apply all over the dark circle areas in a half-moon shape. You can see how pink this looks! It has instantly taken away that blue black color.


Step 5: Cover with foundation and concealer.  Viola!


Here is the AFTER!

// Floral Blouse here // Pink Top H&M old similar here // Lips MAC Candy Yum Yum topped with I'm Passionate // Nails Essie Marshmallow //

Is this not the perfect way to Polish off your look!?
PLEASE PLEASE PLEASE let me know if you try this tip. I am now on day 3 and have really seen a difference, especially in my photographs. 

Thanks for stopping by!
--Kelsey

Instagram: @KelseyMKipp and @Courtney_m_B

Tuesday, February 25, 2014

Layering Neutrals


Floral Chambray Old Navy // White Denim Loft // Faux Vest SheInside (I could wear this daily) // Necklace Brina Box // Purse Forever21 and dying for this one // Booties Nine West // Lips MAC Rebel // Sunnies Loft (for $5) similar here //

Don't let this picture fool you--yes, there is sun, but, with the wind chill, Buffalo has YET to rise above freezing temps. Sorry for the WINDY photos lately, but it is the best we can do! (Unless you want more pictures inside a library... ) Well then, moving on!

White denim is a staple for me! Although it's not quite summer ready, I couldn't help but slip them on when pairing it with a great floral chambray. White is effortlessly chic, clean, and always Polished (unless it becomes dingy white, you know the white t-shirts with yellow arm pits---ugh, must we go there!?) As a neutral it goes with EVERYTHING--even other neutrals. Chambray, camel, and black looks bold and rich with saturated 'color' when laying up against this crisp white jeans... is it summer yet?!

Pairing an outfit does not always revolve around color. Here I used great textures and details to make this outfit pop. How could I avoid this great vest? The color, the fit, the length--it's possible to wear it with everything! When a new piece is easily incorporated into my wardrobe, like this vest, I know it was a good addition to my closet. In fear of looking like I stepped right off the ranch, I wanted to break up the denim-on-denim look. A bit of faux fur was just the trick! 

Thanks for reading!
--Kelsey (& Winston)

Follow on Instagram @KelseyMKipp and @Courtney_m_B


Photo Bomb: Winston Kipp (our baby)

Saturday, February 22, 2014

Leopard & Leather


// Jacket H&M in stores similar here // Denim here // Scarf NYC// Booties similar here // Lips MAC Russian Red // Belt Target // Watch here (LOVE) //

Have you stopped over to see Jade at A Spoonful of Style? Well, I was obsessing about her fabulous jacket posted here. I was equally devastated to see it was sold out in my size (UGH). 

Thankfully, I spotted this great alternative at H&M in stores for $40. I thought it was perfect because it screams Polished to me. The high color, the leather sleeves, and the detail on the back, I knew it was something that could easily be added to my wardrobe. This is the definition of trendy--when you can add a few articles can be integrated into your existing wardrobe that you LOVE. This is it! 

Spoiler Alert: I thoroughly enjoy shopping! Shocker, right!? Well, besides the art of shopping, I love physically taking my finds home with me for a personal fashion show. When shopping online, my 'shopping high' is... well, kind of deflates. Although I LOVED her jacket, I was happy to snatch this up and wear it out of the mall! (You all know I am not kidding!)

Thanks for stopping by!
--Kelsey

Follow us on Instagram @KelseyMKipp and @Courtney_m_B


Wednesday, February 19, 2014

The Midi Skirt


Sweater Old Navy // Midi Skirt (obsessed! And only $20?!) here // Shoes CathyJean // Necklace Target // Earrings here // Lips MAC Russian Red // Nails Essie I'm Strong //

I found this lovely red midi after receiving a request from a fantastic blog follower with a dilemma. In the summer, she loves her maxi skirt but struggles to make it winter ready. Here is my solution--allow me to introduce you to the midi skirt. 

Now, don't get me wrong fashion friends, you can definitely find me rockin a maxi skirt in the summer, but using this piece in the (Buffalo) winter posed a lot of problems for me. Naturally, my first thought it what shoes would I wear. Maxi skirts look great with sandals {wedge to gladiator} but not so much with a boot or stiletto. Length of course plays a factor, but I think it is the fabric that presents the biggest hurdle. Most maxi skirts are made from cotton or linen, such a summer fabric. Of course, depending on the skirt, maxi skirts are often full of bright colors and loud floral patterns--again perfect for summer.

Since I didn't want to abandon the skirt trend, how could you right? I found the perfect solution--hello MIDI! The fabric, the color, the length... just perfect for winter. Easy to dress up with a stiletto and some fabulous jewels, but also easy to wear with ballet flats and a t-shirt (yes like a 'hi, I borrowed this from my husband's closet' t-shirt).

...must I add, how can you pass up such a great deal for only $20!? The hardest part is choosing the right color! Oh, so Polished.

Hope this helps! Much love,
--Kelsey

PS Follow us on Instagram @KelseyMKipp and @Courtney_m_B 

Monday, February 17, 2014

Dust It

I am totally OBSESSED with big hair. Now, I don't mean a bit of volume, I mean 80's Sarah Jessica Parker means (insert any Housewives Reality Star here). In all honesty, the higher your hair, the closer to God!

Well, in my attempt to add some serious volume to my hair, I started trying tons of new products. My sister (the best hair stylist in Florida--I always joke visiting her is my most expensive hair cut ever) introduced me to 'Dust It', it's like tease in a bottle. Now, I have tried several kinds without finding much of a difference, they are relatively the same {at least to me}. I have tried Volumis, Big and Sexy Hair, and Osis--they all work well. 

Here she is!

Just like teasing, section of the same areas on your head and sprinkle a bit in on your roots. The powder is light white flakes, which makes it easy to hold upside down and tap a few times with your finger rather than shake the bottle.  

I prefer to rub it in with my palm, but that photo looked awful (haha) so, here I am just using my finger tips in a small circular motion.

This is WITHOUT any teasing!
// Earrings Old Navy (only sold in stores) // Tshirt here for $8 // Lips MAC Up the Amp // Nails Essie I'm Strong //

I would be lying if I said it replaced  my teasing routine, but it is a fantastic way to add even more volume. Personally, I can't use any dust it product daily because the texture becomes, well, kind of like a dry oil. It's hard to describe, but once you try it you will instantly know. Since, I try to go several days without washing my hair, I only add the dust it on my last few days of wearing my hair down. 

PS--I must apologize for my sad faces :( I promise I am much happier than I appear. However, you may have read in earlier posts, I recently got braces and I just CANNOT stand to show off my, now, metal mouth to the camera... in time friends!

Thanks for stopping by,
Kelsey 

PS For more daily hair tips, tricks, and style, follow us on 
Instagram @KelseyMKipp and @Courtney_M_B

Thursday, February 13, 2014

CLARISONIC Miracles!!!

OMG like OHHH M GEEE--If you have been living under a rock or haven't heard about Clarisonic, let me blow your mind {deep breaths, ladies-it is a life changer}. 

Before I get ahead of myself, I need to explain why this is SO important. Courtney and I built the Polished brand on the idea that we believe people need to appear Polished from head to toe. Let's be real--we have all seen a GORGEOUS looking women walking down the street in sweat pants and carrying a Coach bag. Just to be clear-not Polished. Remember, it's all about the details, skincare cannot be ignored. 

Why, you ask? Healthy skin is something spotted from across the room! When your skin looks tight, clean, fresh, and it glows! If a healthy complexion doesn't sway you, think about your makeup. Does it ever get flaky or refuse to last the day? HELLO--it's not your makeup, it's what is underneath it! So, in order to appear Polished (with fresh stunning makeup) you need to pay a bit of attention to your skin. 

With this in mind, I needed to do some research--Now, strictly business I treated myself to my first facial (research!). I learned A LOT! In case you care, my skin is combination... meaning I have average skin but spots of dry areas. Immediately I knew those spots because I can see the difference when I put on my foundation. These "trouble spots" result from lack of moisturizing. Honestly, this was frustrating to hear. I am great pretty good about taking off my makeup at night, quick wash, and ALWAYS lather on the Aveeno. Well, no more ladies! 

Finally, let the Clarisonic tribute continue. Research and logic aside, after my first use, I saw instant improvements with my skin. My dry spots are minimized and my skin appears so clean and fresh. It's a look I struggle to describe because clean doesn't truly express the difference. It's a must try! Although it is pricey, it's a must!! Trust me :)

My {New} Skincare Routine:
  1. Using a makeup wipe, I remove my makeup on my eyes and face. 
  2. Add a dab of face wash onto the brush. SIDE NOTE: You can use any face wash you wish, but be sure it does not have any exfoliation beads within it. 
  3. Run it under water.
  4. Now, it's time to wash. Best part-Clarisonic Mia 2 has it timed perfectly for you!! When you start the machine, it you feel the pause and hear the buzz it signals you to move to the next area on your face. PS I use the brush that came with the kit. 
  5. Start on your forehead for 20 seconds. Wait for the pause, then move to your nose and chin for 20 seconds. Finally, 10 seconds on each cheek. AND DONE!
  6. STOP after that. This is designed to give the perfect amount of clean. Just enough to get rid of the dirt, grime, and pollution, but not too much that could potentially harm your skin. 
  7. Now, it's time to moisturize! I start with a serum {Time in a Bottle by Philosophy} and then a moisturizer {MAC}. 
**I am loving my serum and moisturizer, but I would love to hear what else you readers are using. Any suggestions?! You know me, always looking for the next best thing. 

OK-time to go out and buy your Clarisonic, you will not be sorry! Please share your thoughts and experiences!!!

Thanks for stopping by,
Kelsey 

Follow us on Instagram @KelseyMKipp and @Courtney_m_B

Tuesday, February 11, 2014

I HEART YOU

Hello fashion lovers! Big apologizes for the few and far posts but I have finally shaken my cold and ready to bare the cold in hopes of a great photo. 

More importantly-my Valentines Day blouse arrived just in time!!!! Although I can't think of a time when shopping is not my favorite past time, shopping for a specific occasion tops the list. As Valentines Day approached, I knew I wanted a casual outfit that I could wear during the day but have the opportunity to take it through the evening. When I found this blouse {for $12} I knew it was the one. That Ah-ha moment, you know the one when you see the sale price, thinking... 'I can make this work'. 


// Heart Top SheInside //  Black Fur Vest SheInside // Pearl Bracelet (similar) // Booties Payless similar Sole Society // Ring Old Navy (only sold in stores) // Lips MAC Russian Red // Nails Essie Forever Yummy //

For day time, I paired this heart top with a pair of denim, some booties, and pearls. Pearls, on a side note, are always a good way to dress an outfit up. When sporting a "young" festive blouse, pearls help make it age appropriate and classy. 

What are your plans for Valentines? 

Happy Valentines to all!
--Kelsey

Follow us on Instagram @KelseyMKipp and @Courtney_m_B

Wednesday, February 5, 2014

#WHATIWORE

While at work, I am often guilty of sneaking a selfie of my outfit of the day. Fashion is a great distraction from all of the work I am suppose to be doing, right? To be honest, I find wearing a great high heel makes it easier to walk into my next meeting (yawn). It helps to feel Polished and fabulous!

Thank you for all who ask about my outfit details on Instagram. Today, I am giving the details you asked for! Keep them coming, I am LOVE LOVE LOVING checking my Instagram for all your comments :)   

// Red Pants Old Navy // Shoes Cathy Jean //

Leather Sleeved Blazer Target (love this version too)

Sweater Limited (final sale $15) // Necklace OASAP //

// Earrings OASAP // 

 // Floral Chambray Old Navy //


Thanks for stopping by! Keep following on Instagram 
@KelseyMKipp and @Courtney_m_B

--Kelsey


Monday, February 3, 2014

Curls--Done Right

OMG--How is it that thing, you know... life, gets in the way of my Fashion Passion!? Well, my apologies for the delay in the post, but I am feeling under the weather (ugh, this Buffalo weather is taking its toll!). Thankfully, I did accomplish a complete basement overhaul this weekend!

There are A LOT of pictures in this post, perhaps I should be thinking about a video tutorial!? Anyways, this post was before my new haircut, but the curling technique is the same, from the top!

To begin, I section my hair off and ALWAYS use a hot spray. Nothing touches my naked hair. Here, I have Kenra Hot Spray, but have been using KMS Heat Spray. Kenra has a bit of a more heavy texture and takes a bit longer to dry. Just be sure you are using something!


Be sure you hold the curling iron VERTICALLY! When done, pull down. Leave the curl alone until it cools. So, finish curling your whole head before you style.


I always start my curl from the TOP! Start with your curling iron at the root, and slowly twist the rod until your hair is all heated. TIP: it helps to hold one hand at the top for easy control.

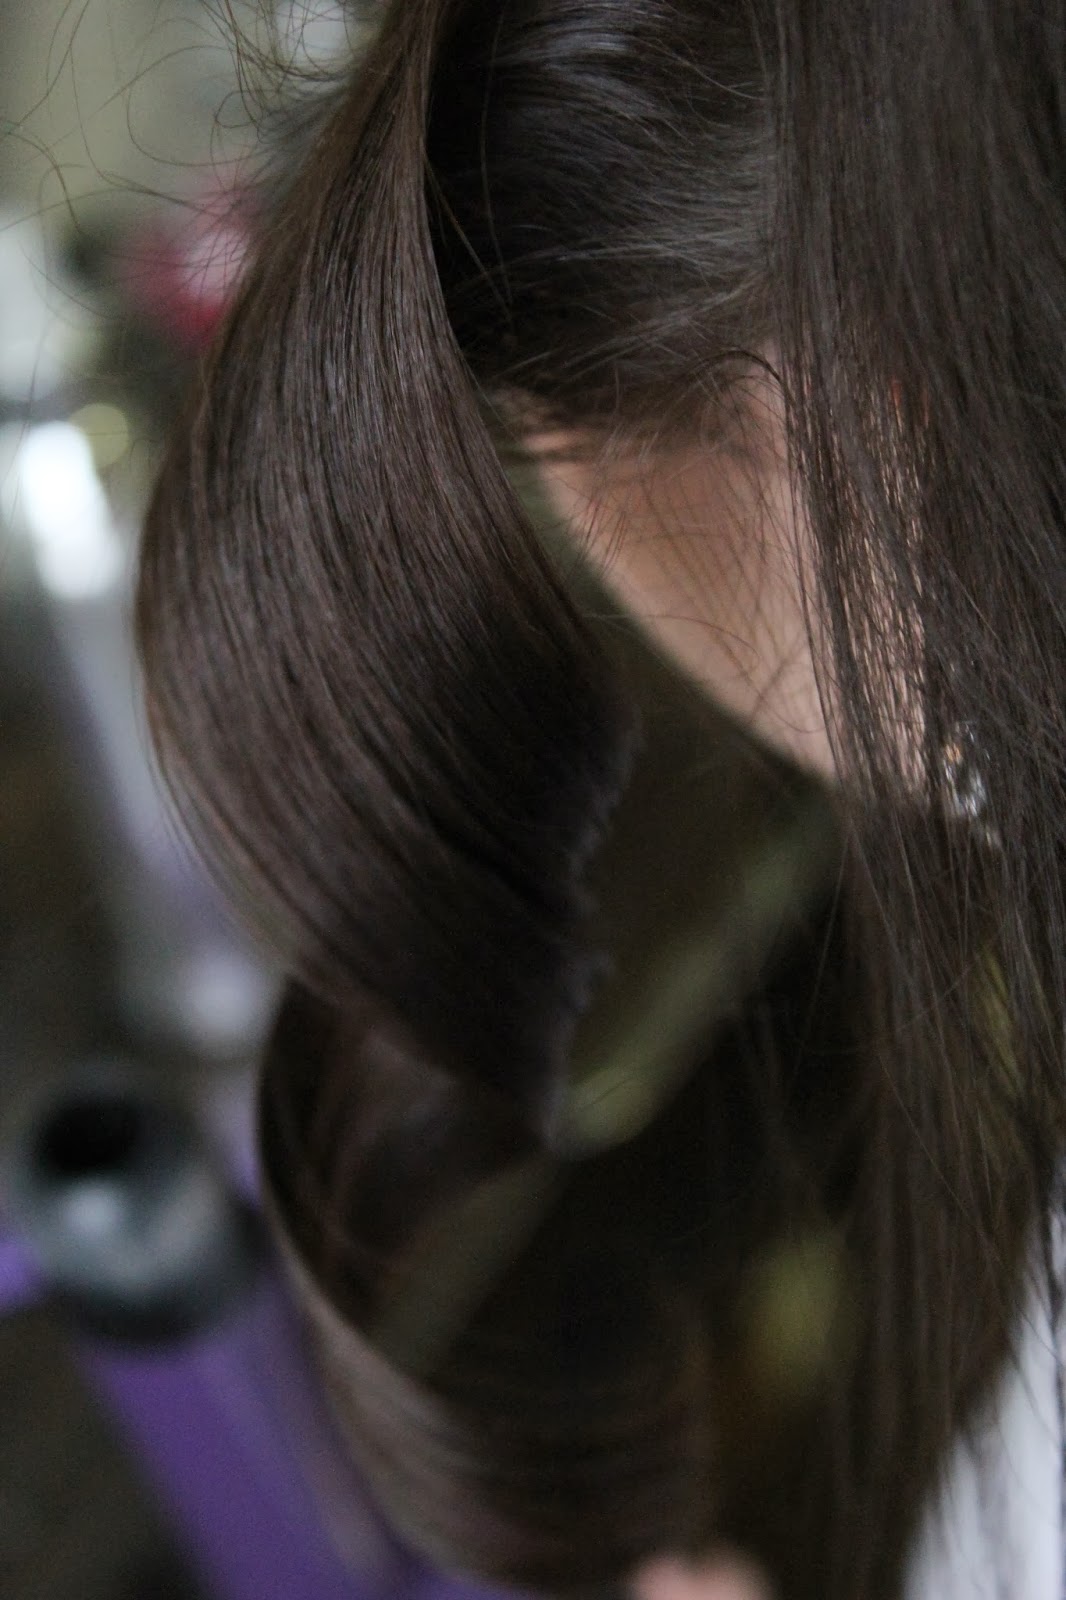
Can you see this curl? I try to leave the ends of my hair out of the curl. This way my curls (when brushed out) look like natural waves. 


Just to prove my point--here is the "traditional way" of curling hair. People start at the bottom (including the ends-NO NO) and curl up! 

Look at the difference between these two curls!!! On MY left, you can see the curls is solid from root to tip. The other curl is heavy and really only flips a curl at the tail! Makes a difference, right!?

As I mentioned, I like to leave my curls reminiscent of Shirley Temple herself, at least until they cool. Don't touch, just yet. 


OK... ready for the style.
I use the same teasing brush Courtney mentions in her Tease Me post. I like this one because it is a bit wider. You won't find me without one!

Here I have teased from the bag, added a bit of hairspray, just look at my volume!

...and a little bit on the sides. 


Beauty in the works... now, it's time to blend.


My final product. The teasing element takes a bit of my curl away, but I am OK with that! I need the volume and it helps to make it look effortless! 


Thanks for stopping by! Let me know how this works for you!

Much Love,
--Kelsey

Follow us on Instagram @KelseyMKipp and @Courtney_m_B