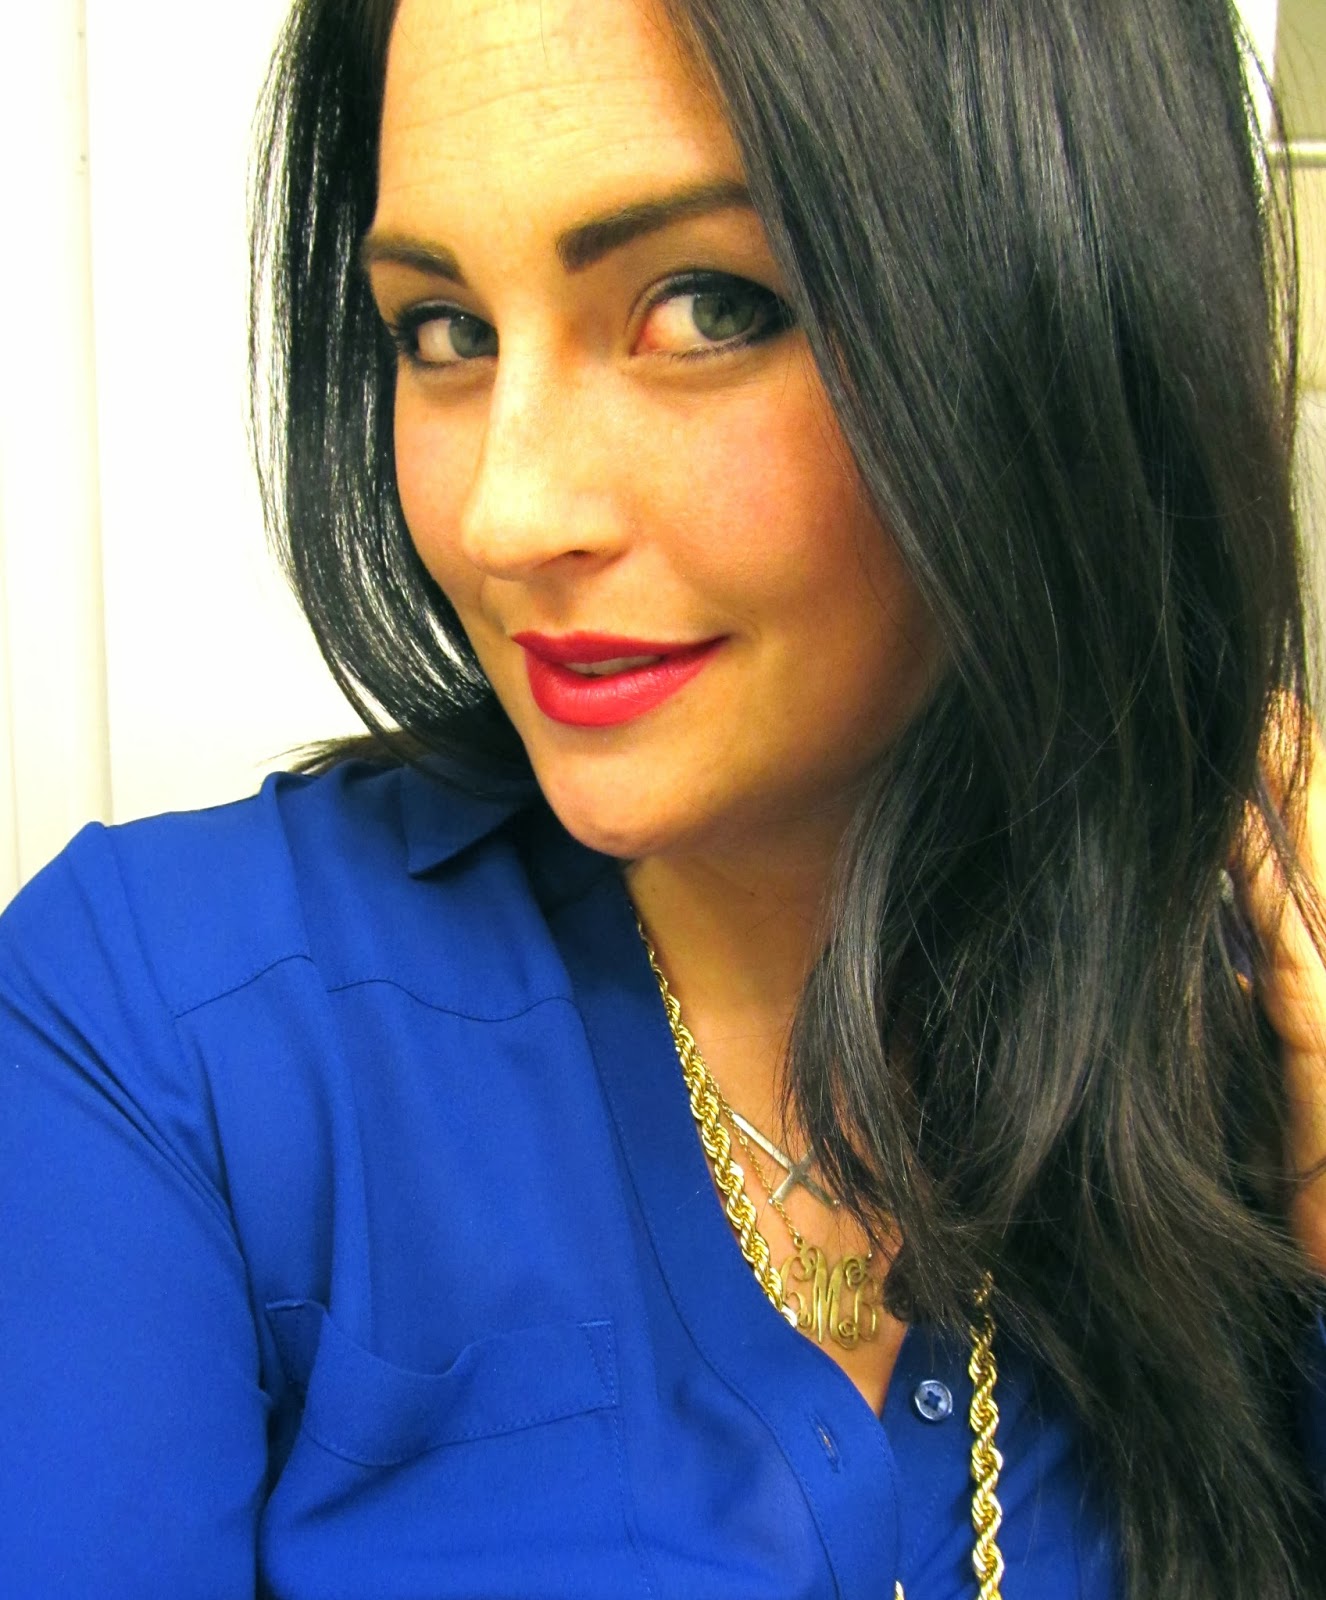
Showing posts with label hair blog. Show all posts

Monday, February 17, 2014

Dust It

I am totally OBSESSED with big hair. Now, I don't mean a bit of volume, I mean 80's Sarah Jessica Parker means (insert any Housewives Reality Star here). In all honesty, the higher your hair, the closer to God!

Well, in my attempt to add some serious volume to my hair, I started trying tons of new products. My sister (the best hair stylist in Florida--I always joke visiting her is my most expensive hair cut ever) introduced me to 'Dust It', it's like tease in a bottle. Now, I have tried several kinds without finding much of a difference, they are relatively the same {at least to me}. I have tried Volumis, Big and Sexy Hair, and Osis--they all work well. 

Here she is!

Just like teasing, section of the same areas on your head and sprinkle a bit in on your roots. The powder is light white flakes, which makes it easy to hold upside down and tap a few times with your finger rather than shake the bottle.  

I prefer to rub it in with my palm, but that photo looked awful (haha) so, here I am just using my finger tips in a small circular motion.

This is WITHOUT any teasing!
// Earrings Old Navy (only sold in stores) // Tshirt here for $8 // Lips MAC Up the Amp // Nails Essie I'm Strong //

I would be lying if I said it replaced  my teasing routine, but it is a fantastic way to add even more volume. Personally, I can't use any dust it product daily because the texture becomes, well, kind of like a dry oil. It's hard to describe, but once you try it you will instantly know. Since, I try to go several days without washing my hair, I only add the dust it on my last few days of wearing my hair down. 

PS--I must apologize for my sad faces :( I promise I am much happier than I appear. However, you may have read in earlier posts, I recently got braces and I just CANNOT stand to show off my, now, metal mouth to the camera... in time friends!

Thanks for stopping by,
Kelsey 

PS For more daily hair tips, tricks, and style, follow us on 
Instagram @KelseyMKipp and @Courtney_M_B

Monday, January 27, 2014

Get Your Hair Did

This week I tried a new product, Daily 10 leave in conditioner. It promises to produce silky hair--and it DELIVERS! Since I was sporting a sleek look, I quickly noticed how damaged the ends of my hair were. I mean damaged-like could split each hair strand in two! Ugh--let's just say I avoided human contact and mirrors for the rest of day and drove straight to the hair dresser's. 

Needless to say, three inches {and a new color} later.... here is my new look! I am still shocked at the difference 3 inches makes, my hair feels so short. However, I love this healthy locks look. Now this blunt cut gives my hair a thick healthy look, check out the ends of my hair--thick, right!? Fingers crossed that healthy hair will allow for a quick growth :) 


In the meantime, I tried a new hair technique with faux rollers. Be sure to use a hot spray--I typically use Kenra Hot Spray (which I LOVE LOVE LOVE) but my hair dresser gave me a tester for KMS, which I like too. Grab some duck bill clips and a straightening iron.


We are going to start with a mohawk--starting top middle area and working all the way to the nape of the neck. Then, we will focus on the sides.


After you have sprayed the hot spray, run the straightener through a section of your hair.


I use my finger to curl the hair around in a large barrel (hence the faux roller). Use a duck bill clip to hold it in place. You can buy duck bill clips at Target!


Now that the mohawk is complete, pin up the sides. The big barrel helps promote volume--just the way I love my hair, HUGE.


Typically, when my hair is all pinned up, I will do my makeup or rush around finishing something up--just give your hair enough time to cool. Then, unclip it all and shake it out. Add some tease and hairspray and voila! 


I am new to hair color. Less than a year ago, I was a hair color virgin! AHHH! I used to believe that hair coloring was created to truly change your hair color; Since I am a natural brunette, I didn't see the need to color my hair brown. Now, proven wrong, I love the shine and life a fresh color gives my hair, face, and {hate to admit} my ego! haha-so true, right!? 

A fresh cut and color is just so Polished!

Thanks for stopping by! Much Love,

--Kelsey 

Follow us on Instagram @KelseyMKipp and @Courtney_m_B

Monday, January 20, 2014

Take Your Hair From Blah to TA-DA!


Ever feel like you hair is just screaming, "blah, blah, blahhhhhh?' Well, I do. Sometimes I get stuck in a hair rut and we all know how difficult it is to get out of it! I mean some people have been wearing their hair the same way for decades! My hair ruts only last about two weeks, so I guess I'm just being dramatic, oops! So, here's a quick way to take a look from "blah" to "TA-DA"!

Section hair off above your ears. Take inch-wide pieces of hair and wrap them around the iron or wand away from your face. I use a 1 1/4 inch curling iron by John Frieda.

 I sometimes twist the section of hair and then wrap it around the barrel. This creates a much more relaxed wave.

Wrap your bangs and hair close to your face all the way to the root, it adds volume to the front of the face. 

Flip your head upside down and shake it out. Spray lightly for hold, not helmet!
TA-DA!
I love the look of loose, wide waves. It is a refreshing and simple change from my normal blow out or curled hair. Not to mention, it is easily maintained, and still Polished!


 I like a challenge, people. Take your hair from "blah" to "TA-DA," I've got that covered. But take your hair from "TA-DA" to..."TA-DAAAAA," requires some thinking. Whenever I leave the house, I always come prepared with hair ties, bobby pins, and of course...a tease comb (check out my tease post, here). That way, whenever I feel like it, I can always do something a little extra to my hair. So for this post, I used my girl, Courtney Kerr (I haven't told her that we are BFF's, yet...shhhh) as an inspiration. She is from Texas and I am from New York. I've said it before and I'll say it again, the higher the hair...the closer to heaven is just not a motto that I live by. But, she does! Her teasing is sky-high and props to her for rocking that look. But, it's not me, so here is my take on Courtney Kerr's teased, center parted, half up-do (...I haven't perfected that name yet). 


Pin front pieces of hair under the crown of your head. 
I criss-cross the bobby pins for more support and security without having to wear too many. 

Use the back end of a tease comb to pull up and add height. The tease from before will support this upward pull and keep your hair where you want it. 

Use spray to smooth the front of the hair. Sometimes I spray my fingers and use them to smooth my hair to avoid a wet or crunchy look. I like this part to be smooth because it offsets the height of the back for a more dramatic look. 


TA-DAAAAAA...times two.


 As always, THANK YOU for stopping by! Please share your comments or ask any questions below!

XO--Courtney

For more hair tips and tutorials, check out our Instagram pages Courtney_m_b & Kelseymkipp


Monday, January 6, 2014

If the Tiara Fits


"Be your own hair trend." I LOVE this! Anybody who knows anything about me knows how much I love my hair. I spent years growing it to the length it is now (I used to have a bob circa Posh Spice) and I am having so much fun experimenting with different styling options. 

Can we talk about a sock bun? Not only do they instantly Polish a look, they are quick and flattering (and great for "ugh, the day before I have to wash my hair" days). I have a soft spot for a bun thanks to my ballet days. I mean, who doesn't want to look or feel like a ballerina? Who is more Polished than a ballerina?

Anyway, a great bun is just that, a great bun. But this week I wanted to challenge myself to create my own hair trend. I thought to myself, "what is the biggest trend that I am shopping for right now?" Answer-necklaces. How could I incorporate necklaces into a hair trend? Well to look like a princess, of course!

My look before. Notice this necklace.

First:
I like to do a bun on unwashed hair. Unwashed hair is more workable and lends itself to styling like this. Create a ponytail at the crown of your head. I try to tighten my ponytail holder tighter than usual to support the weight of the bun, especially because I use an insert.

I try not to put my ponytail too high, but that is a preference. 


I use a thicker ponytail to support the bun.


Second:
Use a sock or an insert (mine is showing some wear and tear, oops!) and place it at the base of your ponytail. Slide it to the top of your ponytail and tuck the end of your hair under. Begin to roll toward your head, smoothing between each roll. Work the bun to the size you want ( I say, the bigger the better!) and use bobby pins to secure.


Make sure your insert or sock is the right size and color for your hair!


Roll downward and smooth the hair as you go.


I pull the ends to the top and secure with bobby pins.


Don't use too much spray, it causes the bun to split in areas that you don't want it to.


See what I'm saying, the bigger the better!


Voila! 
Third:
You can stop at this point and enjoy a Polished bun! Or...keep reading to add some extra Polish to your bun! Take a necklace that has an adjustable chain and fit it to your head, as if it were a headband. This necklace from Target is perfect for this look (not to mention that I grabbed it from the Clearance section). 


Remember this necklace? Now it's a tiara...I mean...headband.


So, ladies, don't be afraid to create your own trends. Hair experiments are a great place to start! You don't have to cut or color your hair to make people notice that you did something new to it. Your hair is  basically your crown. Why not fit yourself with a tiara from time to time?


Enjoy!

--Courtney

For more hair looks--check us out on Instagram--Courtney_m_b & Kelseymkipp